
While I don’t claim to be an expert in astrophotography, I regularly get asked on social media about my settings and what gear I use to capture my images. I’ve included some information below on the tricks and techniques that I’ve learned through trial and error and other online sources. Hopefully they will be useful to you and other keen photographers out looking to capture the heavens in all their glory.

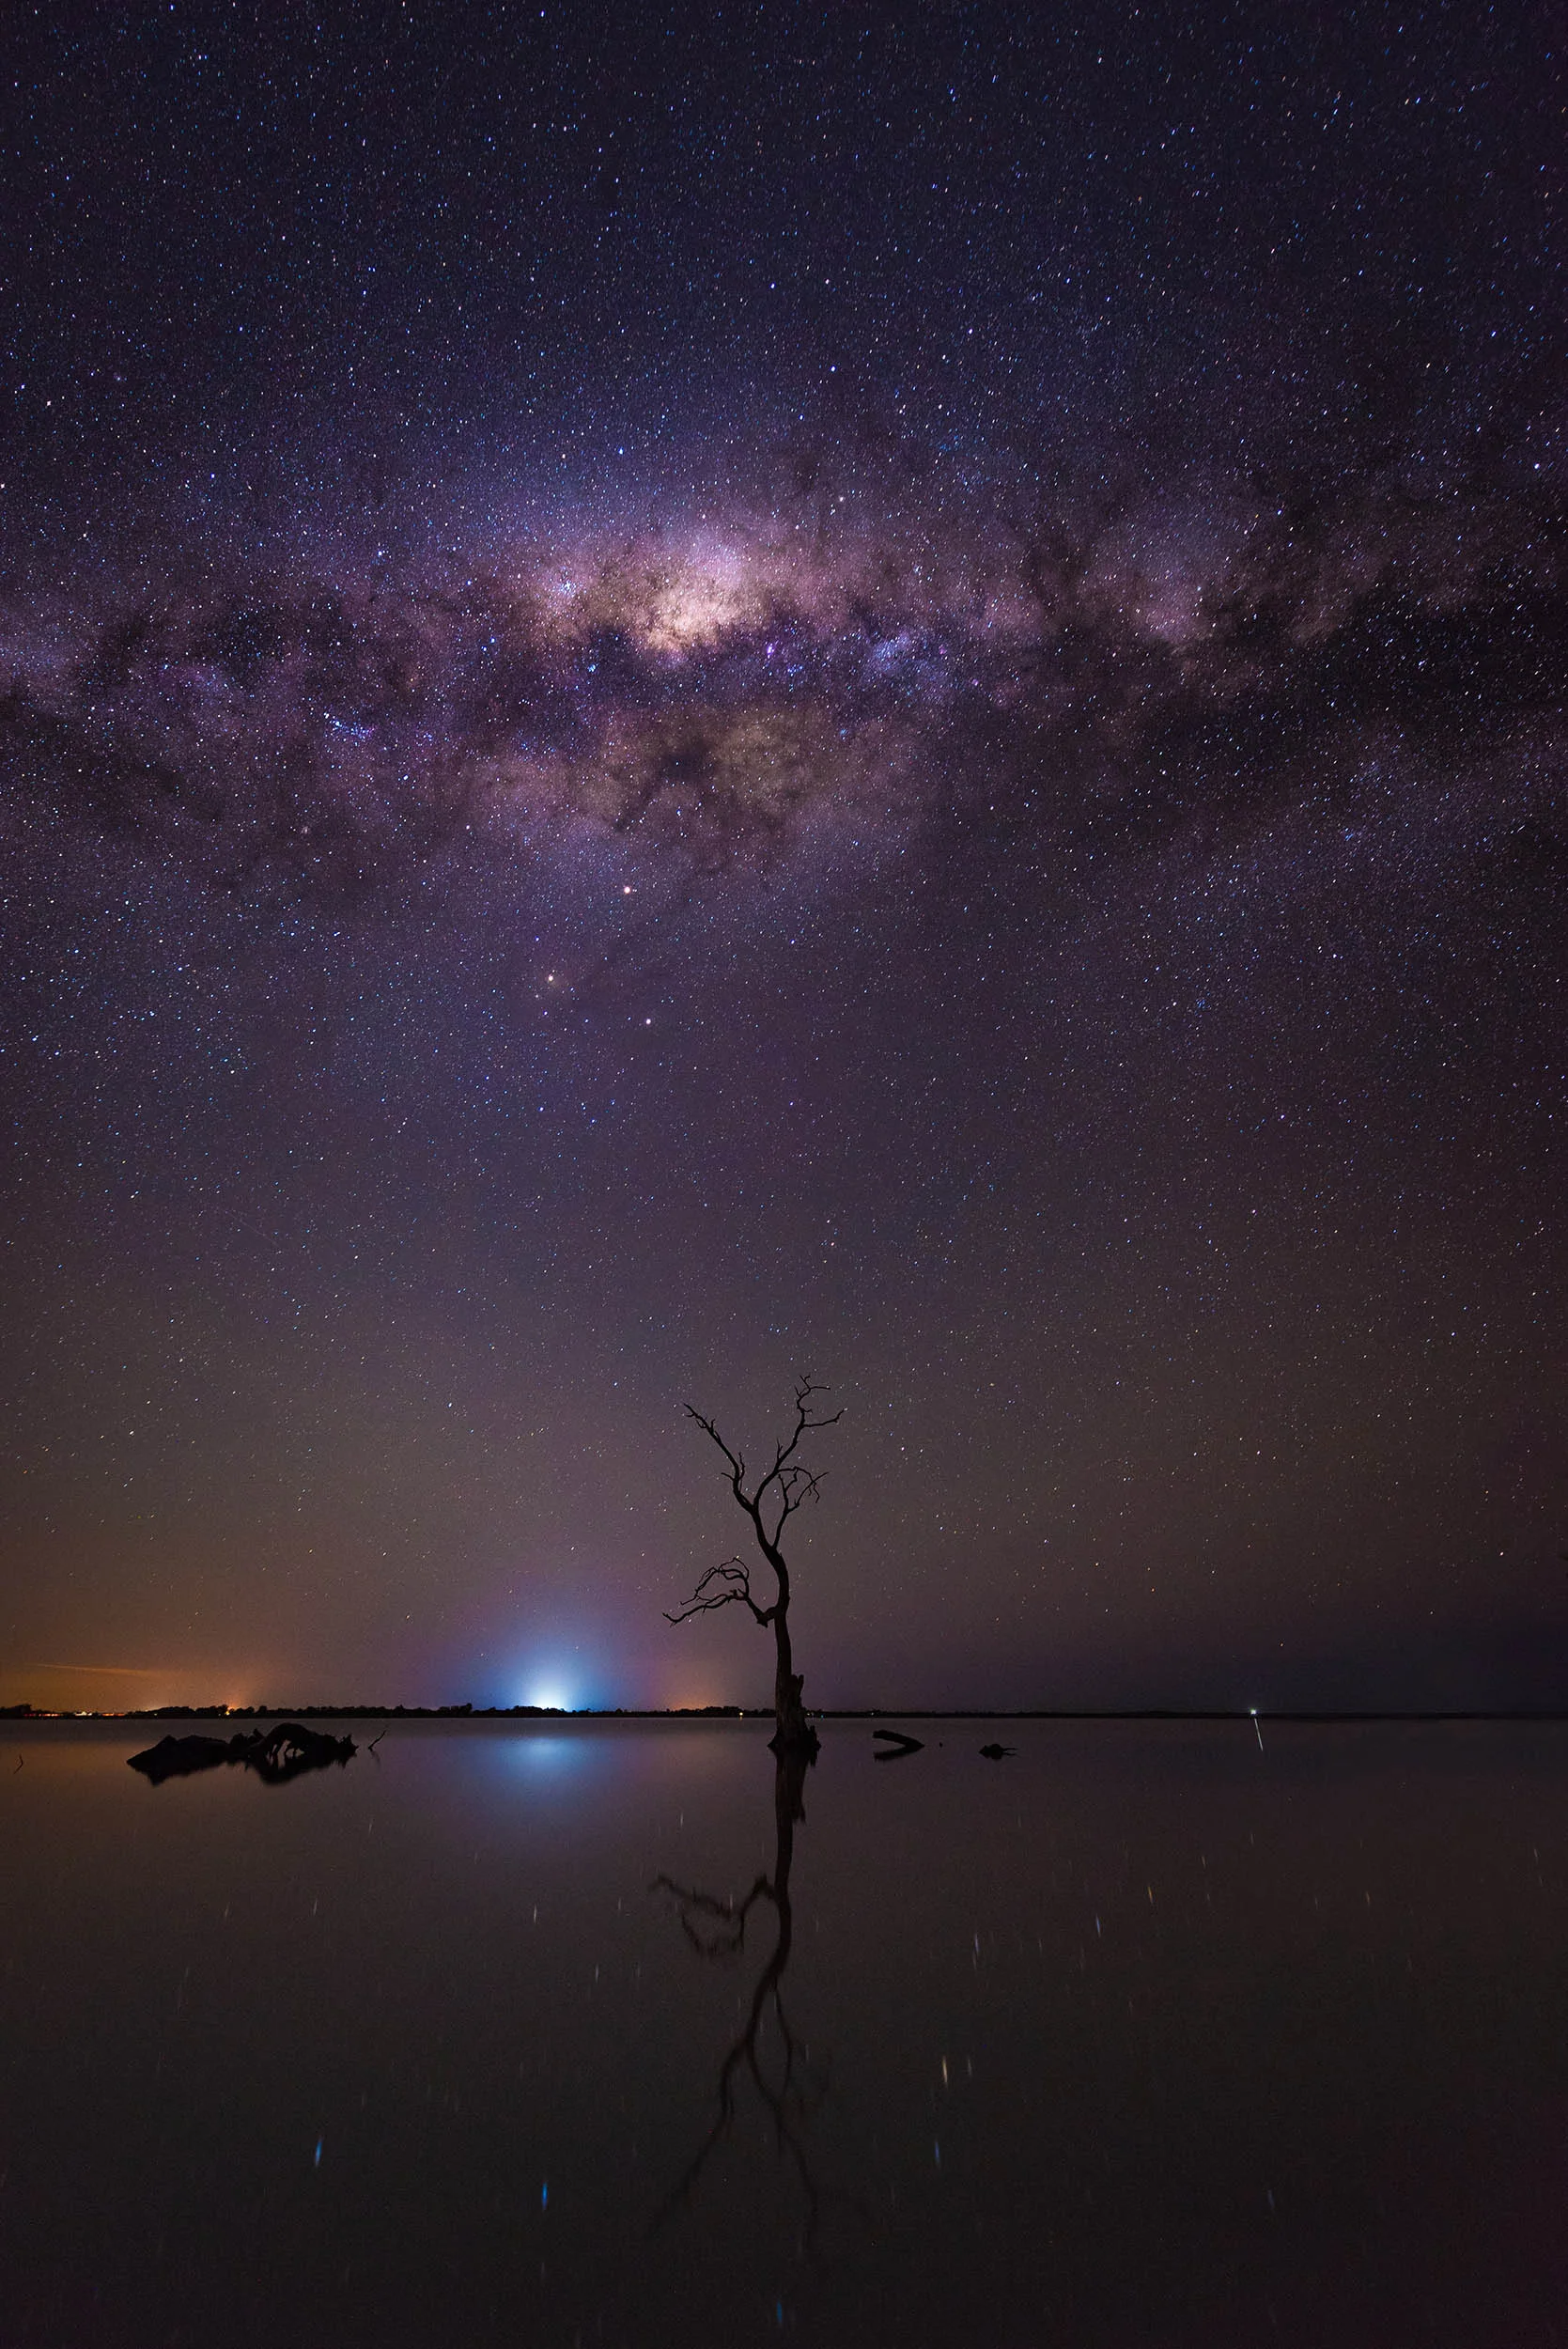
Nikon D800 @ ISO 3200 | f/2.8 | 14mm | 25 sec
What Gear Do You Need?
- Sturdy tripod: Carbon Fibre or Aluminium, it doesn't really matter which.
- Wide angle lens: The wider, the better.
- Shutter release cable or remote trigger: You can find heaps of third party brands cheap on Ebay.
- And of course, your Camera :)
What's in my Bag?
Not that it matters, but I have also included the current gear that I use for astrophotography below:
- Tripod: Benro Travel Angel
- Lens: Nikon AF-S 14-24mm f2.8G ED and Olympus M.Zuiko Digital 7-14mm f/2.8 PRO
- Shutter release cable: Phottix Wired Remote
- Camera: Nikon D800 and Olympus OM-D E-M5 Mark II

NIKON D800 @ ISO 1250 | f/2.8 | 14mm | 25 sec
Choosing a Location
To begin with you will need to choose a location that has a relatively unobstructed view of the sky. Also make sure that the location you choose is far enough away from city lights that you can clearly see the stars without too much light pollution. If there is too much ambient light around, you will not be able to capture the required detail to make the stars and Milky Way really stand out. The best time to plan to shoot is around a new moon and when the sky is free from clouds.
Useful Apps
There are a number of great smart phone apps available that will be able to help you plan out your shoot.
The apps that I regularly use are:
These apps will be able to provide you with a good indication on where constellations will be at any given time, which will help plan out your compositions.

Olympus OM-D E-M5 Mark 2 @ ISO 2500 | f/2.8 | 14mm | 20 sec
Lets Start Shooting
Now that we have covered the logistics side of things, we can look at what gear we need and how to set about capturing the stars.
As listed above, a tripod is a ‘must have’ piece of equipment for these type of shots. You are going to be shooting at long shutter speeds, so your camera needs to be perfectly still. You don’t require an expensive tripod, just something that is sturdy and can support your camera steadily for long periods.
While you can shoot astrophotography with just about any lens, my glass of choice is always wide and fast. Wide, because it is normally desirable to capture as much of the sky as possible while still leaving room for some foreground interest…and fast, because it helps to have a lens with a fast aperture so that you can draw in as much light as possible. An aperture from f/2.8 to f/4 would be perfect. If you have a variable aperture lens, just set it to as wide open as it will go for that focal length.

NIKON D800 @ ISO 2500 | f/4 | 18mm | 30 sec
Focusing your lens is something that can be tricky because you are essentially in complete darkness and our cameras cannot see in the dark. One trick is to shine a flash light on a reference point halfway into your frame so that you can lock focus. Another alternative is to set your lens to it’s infinity point. For some lenses, this will be marked on the body and it will just require you to switch to manual focus and move focus to that point. If your lens doesn’t have infinity marked out, try manually focussing all the way to the right and then bring it back slightly. This will give you an approximate infinity point and you can fine tune your focus from there after taking a few test shots.
In addition to the above, I always like to utilise a shutter release cable so that I can trigger the shot without having to touch the camera and create unnecessary movement. Remote triggers and shutter release cables are relatively inexpensive and you can always find cheap, third party brands on Ebay for your particular camera. Always make sure that the one you choose is compatible with your camera. If you don’t have a shutter release cable you can utilise your camera’s built in timer delay. This mode provides you with a delay between when you to press the shutter button and when the camera actually takes the shot. Now you have time to press the shutter button and remove your hands from the camera to allow for any vibration to cease before the shot is taken.

NIKON D800 @ ISO 1250 | f/2.8 | 14mm | 20 sec
Your camera is the final ingredient in this mix, however as mentioned above, you don’t need the most expensive gear to get a decent capture of the stars. Whether you have a compact ‘point and shoot’, crop sensor DSLR or mirrorless camera…provided you can access the camera’s manual mode, you will be able to see some stars. Yes, the sensor size of your camera will determine how much noise and detail is in your photo but for those of you that are just starting out, what you already have will be fine.
What Settings Do I Use?
As I said before, you will ideally be wanting to shoot at a fast aperture, somewhere between f/2.8 and f/4. Also using a longer shutter speed will allow more time for the ambient light and the light from the stars to fill the camera’s sensor and create an image that isn’t viewable with the naked eye. For my camera, I have found that anything from a 20-30 sec exposure works well however this will also be dependant on your other settings. To ensure that your stars are tack sharp you will need to experiment with your shutter speed to find out what works best. Otherwise if your shutter speed is too long, the stars will start to trail and won’t appear as sharp (unless you are aiming for star trails in which case, the longer the better). The other element to consider is your ISO. Your particular camera will determine how high you can go but I tend to choose anywhere between 1500 to 2500, sometimes going up to 3200.

Olympus OM-D E-M5 MkII @ ISO 2000 | f/2.8 | 14mm | 25 mins
Let There Be Light
The final part of creating your image is entirely up to you and will be solely dependant your creativity and the look you are trying to achieve. Foreground interest can be imperative for creating an interesting image, allowing you to include elements that draw the viewers eye into the frame. A darkened foreground with silhouettes can be quite effective.
The other option is a technique called ‘light painting’. By taking a portable light source like a flash light or even a mobile phone, you can literally use it to paint light over the foreground. As the camera is taking a long exposure to capture all the light from the stars, it is also layering all of the light from the external source into the scene. I normally keep the power on the light source low so as not to over expose the foreground however you will probably find this process to be mainly trial and error to begin with. In some circumstances I have even found that the headlights of passing cars (if you are close to a road) can add some really cool and dramatic effects.
NIKON D800 @ ISO 2500 | f/2.8 | 15mm | 25 sec
I hope this overview of astrophotography has been helpful and while I have tried to keep this brief tutorial relatively basic, some of you may still find it a little technical. If you have any questions about what I have included here or anything else related to photographing the night sky, please feel free to comment below, email me directly via my contact form or message me on my Facebook page.